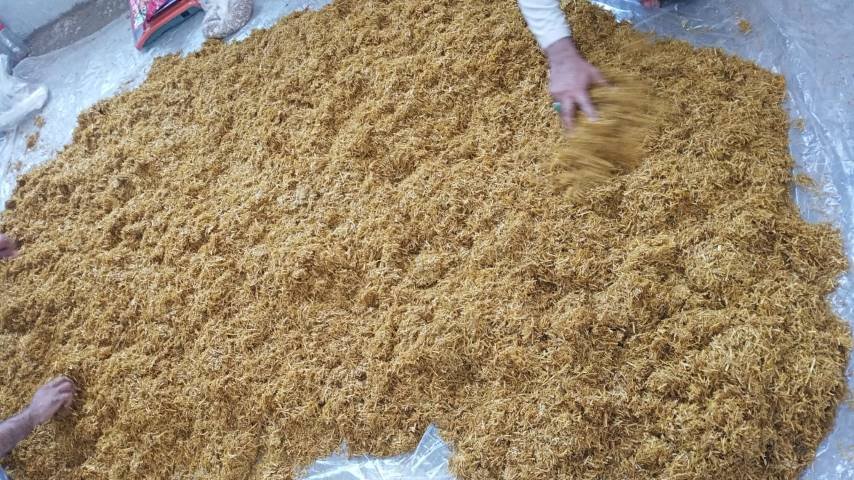
Oyster mushroom is an edible fungus with a rich nutritional value. Oyster mushroom has a different life cycle than other crops. Unlike other crops which grow from seed, an oyster mushroom grows from spawn. Spawn is the propagative or multiplying unit for oyster mushrooms. Oyster mushrooms are easy to grow and most of the growers use commercial spawn for growing them. The spawn is mixed with a suitable substrate on which oyster mushroom grows.
Once you have mastered the skill of growing oyster mushrooms and enjoyed your fresh harvest, you might like to adopt mushroom farming as a profitable business. Luckily, mushroom farming gives you a quick profit with a very low investment.
You can earn money by selling spawn or freshly harvested oyster mushrooms.
Oyster mushroom spawn can be propagated through grain spawn transfer, liquid inoculation methods, and tissue culture transfer on agar plates. All these methods require some technical training, knowledge, and basic equipment for producing the spawn of several types of mushrooms.

For spawn preparation, you need a source of mushroom mother culture, and a laboratory or a cleanroom to ensure a sterile environment. The work must be conducted under completely sterilized conditions otherwise the risk of contamination will increase. If contamination occurs at any stage it will make the whole process a failure. Once you have all the basic requirements available you can produce oyster mushroom spawn in large quantities.
PREPARATION OF OYSTER MUSHROOM SPAWN
Step I. Select the right type of mushroom
Before you start cultivating or preparing the oyster mushroom spawn you must be familiar with the basic characteristics of the type of oyster mushroom you plan to grow. There are several types of oyster mushrooms such as pearl oyster, phoenix oyster, pink oyster, king oyster, blue oyster, golden oyster, and elm oyster. Do some literature studies to learn about the morphological characteristics of edible oyster mushrooms. It will minimize the risk of choosing a poisonous mushroom.
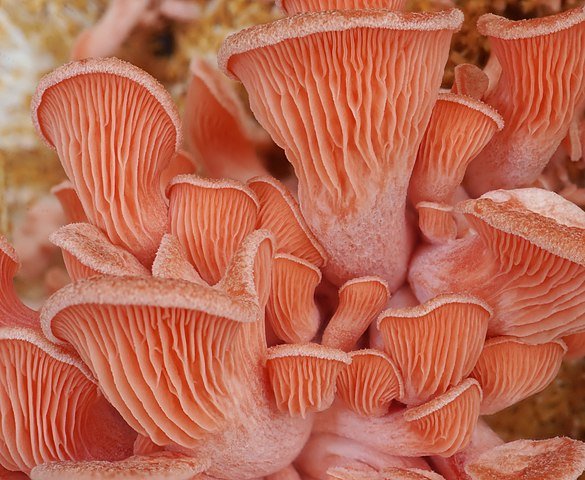

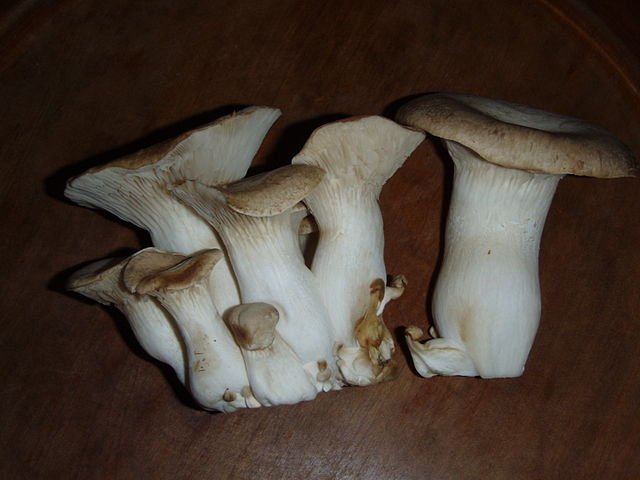
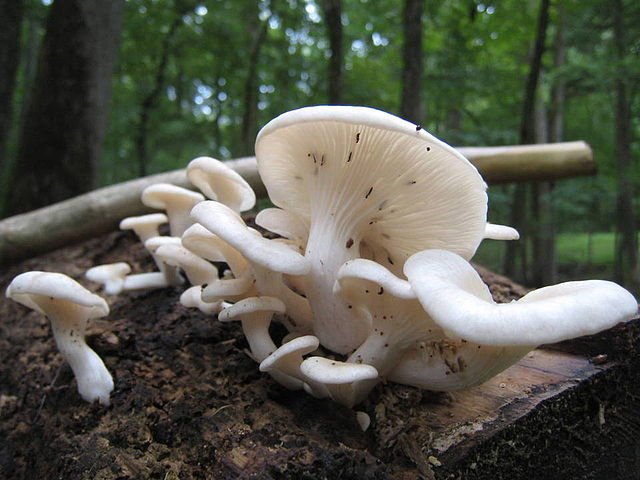
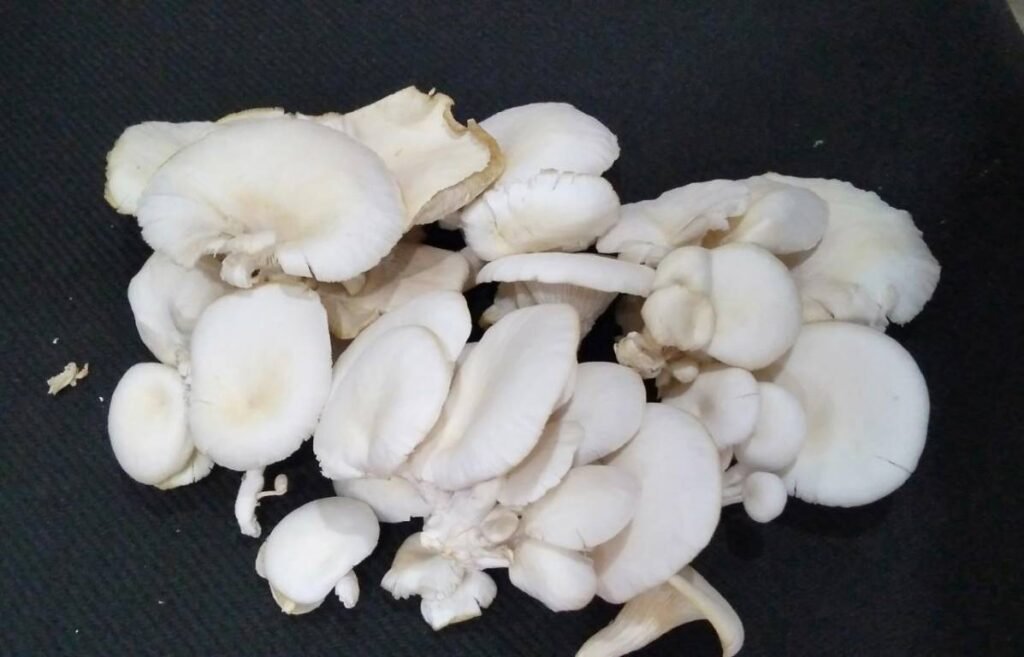
When you are familiar with the basic features of oyster mushrooms you will be able to correctly identify your desired type of oyster mushroom.
Never take mushrooms from the wild as they can be poisonous. Purchase fresh edible oyster mushrooms from a reputable store or dealer. It will increase your chances of selecting the right type of oyster mushroom. Make sure the stems of the oyster mushroom are intact because you need the stem tissues for propagating.
If you are not sure about the quality of local mushrooms whether they are safe for consumption or poisonous you must go for readymade spawn available in the market for sale. Purchase spawn only from a reputable store.
Step II. Preparation of medium for culturing the mushroom mycelium
Culturing the oyster mushroom mycelium on a sterilized medium to start the fungal growth and then transferring it to the cereal grains is a great method to produce oyster mushroom spawn.
Potato dextrose agar (PDA) is a general-purpose medium that is widely used for culturing several types of fungi including mushrooms.
Let’s look at the recipe of PDA medium.
Preparation of PDA
To prepare PDA you need the following ingredients
- Starch 20 g/ Peeled potatoes 200-250 g
- Agar 20 g
- Dextrose 20 g
- Distilled water 1 L
Take 20 g starch or 200-250 g of peeled potatoes. If you are working with fresh potatoes take 250 g potatoes, peel, and slice them. Put the slices in 1 Liter distilled water and boil for 10 to 15 minutes. Stain the slices and collect potato starch. Add 20 g agar and 20 g dextrose to the potato starch. The water will be evaporated while boiling, add some extra water to make the volume up to 1 Liter.
Sterilize the medium in a pressure cooker or an autoclave at 15 to 20 psi pressure for 30 minutes. After sterilization, pour the medium into sterilized 9 cm Petri plates. While pouring the medium in Petri plates make sure the working environment is sterile to reduce the risk of contaminants.
Step III. Preparation of mother culture
Take oyster mushroom that is desired to be cultured. Pull apart the cap of the mushroom to expose the internal tissues. Take a clean tweezer and cut very small pieces of inside tissues. Take several tiny pieces and put them in a clean glass Petri plate.
Wear gloves and transfer these pieces onto PDA plates (one piece per plate) using a sterilized forceps. Make sure this process is carried out in a laminar flow chamber or a safety cabinet to ensure sterile conditions. If this work is not conducted under sterile conditions, the PDA plates will be contaminated with other fungal or bacterial contaminants. Contamination causes the failure of the whole process and brings frustration only, so you have to be very careful.
Incubate the Petri plates at 25 ℃ (ideal temperature for the growth of mushroom mycelium in artificial culture).

Observe the plates regularly. If any of the PDA plates are contaminated discard them immediately. Keep only those plates that are clean. When you see the mycelium growing out of the tiny fragments of mushrooms tissues, transfer it immediately to clean PDA plates. You can transfer these pieces to several culture plates and prepare multiple subcultures. It will provide you a bulk amount of mushroom culture for preparing the spawn. Store these culture plates at 4 ℃ and subculture every 6 or 12 months.
Step IV. Inoculation of grains
Take 100 % non-GMO wheat, rye, millet, sorghum, or oat grains. All these grains can be used as a substrate for producing mushroom spawn.
Take healthy grains and soak them in water overnight. Do not soak the grains for longer than 12 hours. If you will prolong the time of soaking it will reduce the quality of grains, increase the rate of fermentation making the grains unfit for spawn preparation.
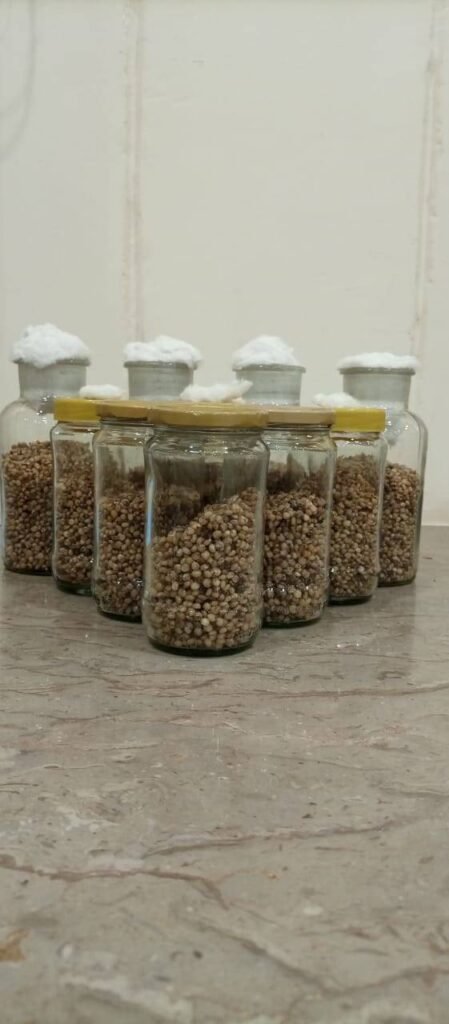
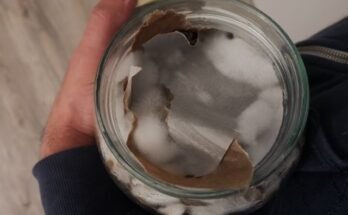
Take clean glass jars or mushroom grow bags. Use biodegradable grow bags instead of plastic bags because they can be easily decomposed without exerting a negative impact on the environment. You can buy 1 Liter capacity glass jars from the market. Make small holes in the lid of glass jars and plug them with clean cotton to allow the exchange of air. You can use a drill to make holes in the lids.
Fill the grains in glass jars or mushroom grow bags and close them properly. Sterilize the grains in an autoclave or a pressure cooker for 30 minutes at 15 to 20 psi pressure. You can also boil the grains directly by adding a small amount of gypsum to the water. After sterilization let the grains cool down for some time. Don’t inoculate the grains when they are very hot. Oyster mushroom mycelium is very sensitive to high temperature it can be easily denatured or killed.
Now take the fresh culture of oyster mushroom mycelium maintained on PDA. Make sure to use only those cultures which are contamination-free. If you see any contaminated cultures it is recommended to discard them right away.
Open the glass jars or grow bags and inoculate the grains with 1/4th of the oyster mushroom culture from a 90 mm Petri plate. Transfer the culture with a sterilized scalpel. To sterilize the scalpel dip, it in 70 % ethanol followed by heating on a flame.
Also, make sure all this work is strictly conducted under sterile conditions in a safety cabinet or laminar flow chamber. If you don’t have access to a safety cabinet or laminar flow chamber, make sure the area where you are working is neat and clean. Wipe the workbench surface with 70 % ethanol.
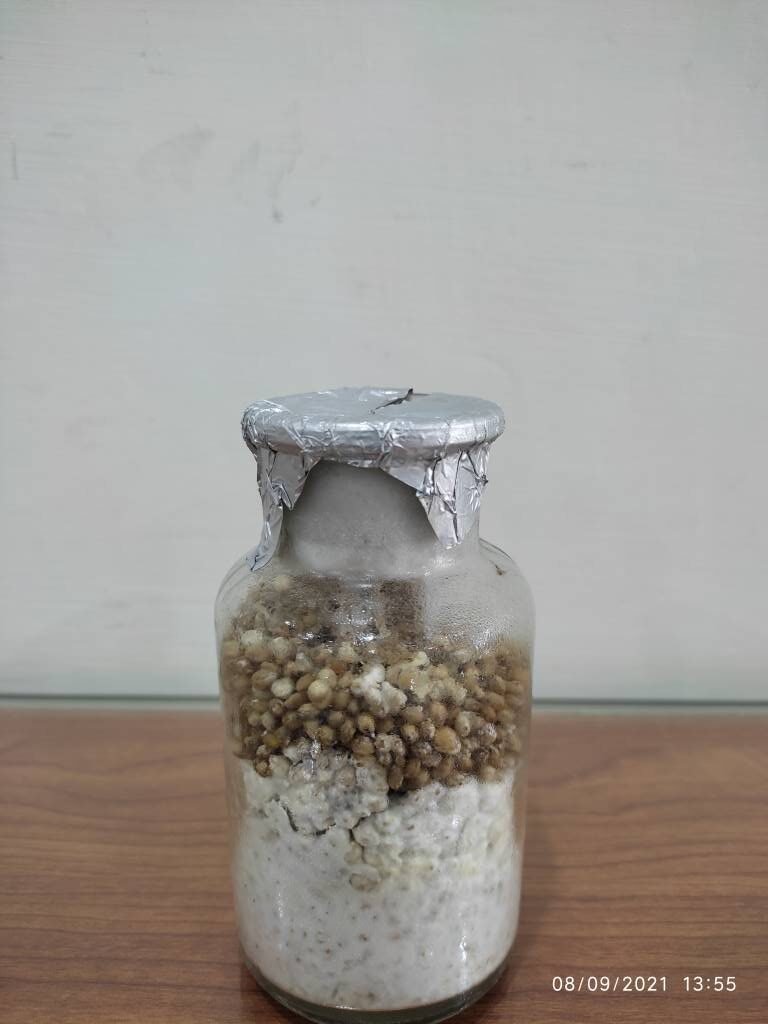
After inoculation, stir the glass jars well to distribute the culture in the grains thoroughly. It will aid the grain colonization of mushroom mycelium.
Incubate the Petri plates at 25 ℃ for a couple of weeks in dark conditions. The mushroom mycelium will grow on the sterilized grains and cover them completely. When you notice that the mushroom mycelium has started colonizing the grains shake it regularly every 4 to 5 days to increase the rate of colonization. The mycelium will cover the grains completely in 10 to 12 days. Once the mycelium colonizes the grains completely the spawn is ready for use. You can use it to inoculate more jars or store it for future use. It is recommended to use the spawn as soon as you can and avoid storing it for too long.
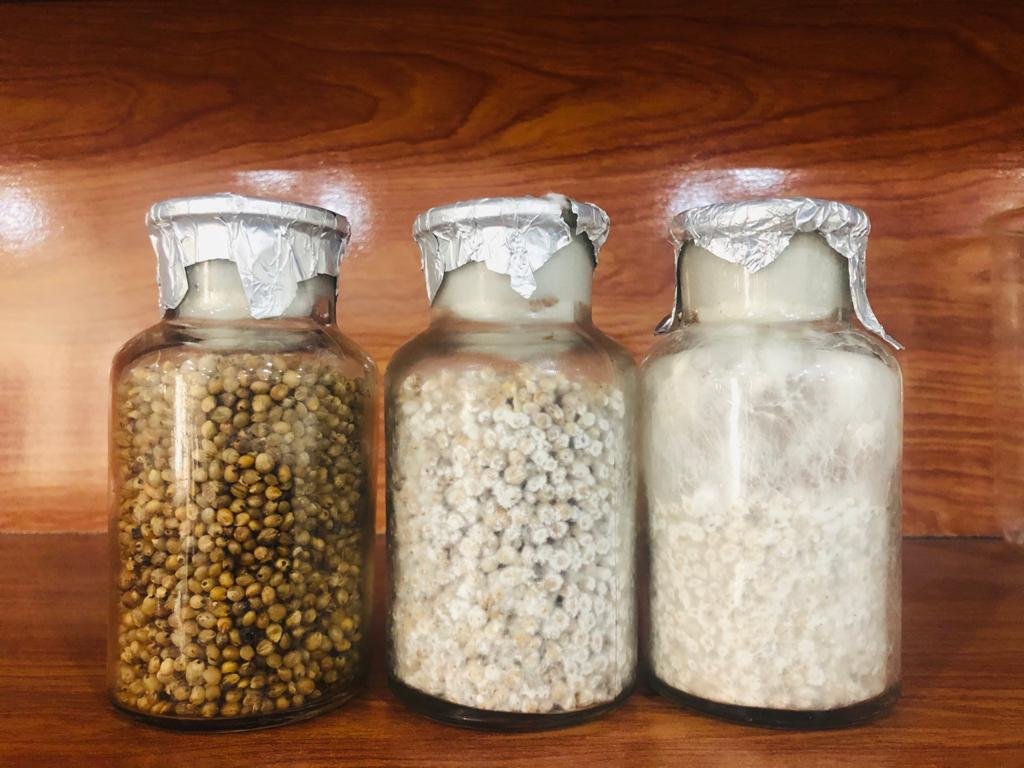
Note: Contamination of spawn can occur at any stage due to incomplete sterilization. Therefore, make sure to discard those jars which are showing any signs of contamination by molds or bacteria.
Now you can use the mature spawn for producing oyster mushrooms on your own. You can also sell this spawn to other growers.
I hope this article will answer all your queries related to preparing the oyster mushroom spawn. For more queries related to growing oyster mushrooms feel free to write to us.
