Among the many things mushroom growers love about oyster mushrooms, above all is their ability to grow easily on a variety of substrate materials.
Oyster mushrooms will grow on just about anything with minimal equipment or special care required. This is because oyster mushrooms feed on cellulose, which is found in any wood-based or plant-based material.
Cardboard is an excellent substrate for growing Oyster mushrooms at home because of its ease of acquiring and simple preparation. This article will serve as your guide to growing your own oyster mushrooms on cardboard, and other paper materials, and the different ways to achieve growing success.
Any oyster mushroom strain will grow well in cardboard with the right preparation. For the best chances of growing success, blue oyster mushrooms are the most resilient and achieve the best results.
Why Grow Mushrooms on Cardboard?
Oyster mushrooms can grow on logs, sawdust, straw, and many other materials, so why choose cardboard for your substrate?
Cardboard is very common and can be acquired for free almost anywhere. Cardboard and other paper products make up 30%-40% of household waste, so you can always get your hands on some cardboard at zero cost.
Shipping boxes, egg crates, food boxes, paper rolls, pizza boxes, and many more types of cardboard can be used to grow oyster mushrooms. Odds are you already have an ample supply of cardboard sitting at your home or in your garbage pile. Using cardboard is also a great way to reuse waste and help reduce our impact on the environment.
Growing oyster mushrooms on cardboard is also a great skill to learn for food security. If food is ever scarce, you can confidently grow oyster mushrooms from common paper waste products to get by, or to supplement a limited food supply.
How to Prepare Cardboard for Oyster Mushroom Growing
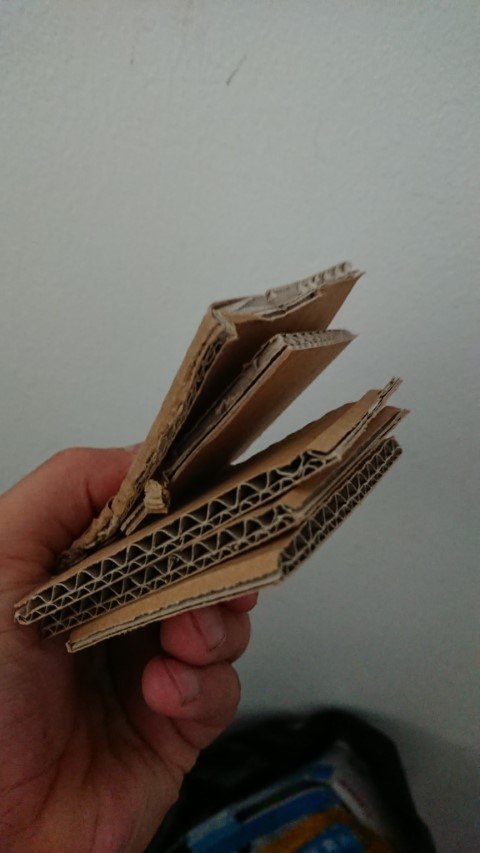
There are only a few steps required to prepare cardboard for growing oyster mushrooms. First, you’ll want to acquire your cardboard. Any cardboard will work, just make sure to remove any plastic tape, glue, or anything else on the cardboard that’s not a paper product.
Next, depending on how large the container is where you’ll be growing your mushrooms, you’ll need to break up the boxes. For large containers, you may only need to flatten out the cardboard. For smaller containers, you can cut up or shred the cardboard into smaller pieces. This will ensure the cardboard will fit into your container and the mycelium has space to inoculate through the substrate.
Next, bring a large pot of water to a boil and place the cardboard into the water to pasteurize. Only leave the cardboard in the water for a minute or two so it doesn’t get too moist. You want to achieve cardboard that’s moist, but not sopping wet.
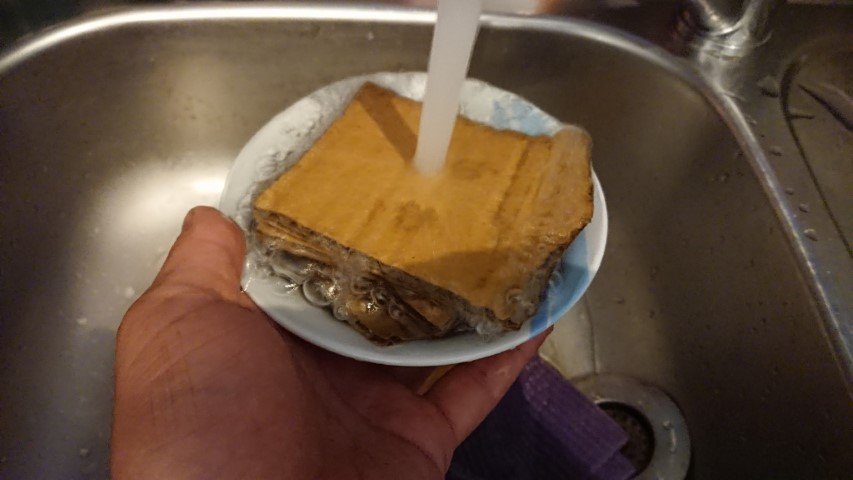
After you’ve pasteurized your cardboard, place it in a container and spread it out to allow it to cool down. Make certain the cardboard is completely cool before adding your spawn or it may kill the spores.
Cardboard Growing Methods
There are several ways to grow oyster mushrooms with cardboard. The differences between each method mostly have to do with the type of container that’s used to grow the mushrooms. The bigger container with more spawn and substrate, the more oyster mushrooms you’ll be able to grow and harvest.
On the other hand, growing with cardboard is a great substrate because it can be as small as you want. This makes using cardboard perfect for growing inside or in small spaces.
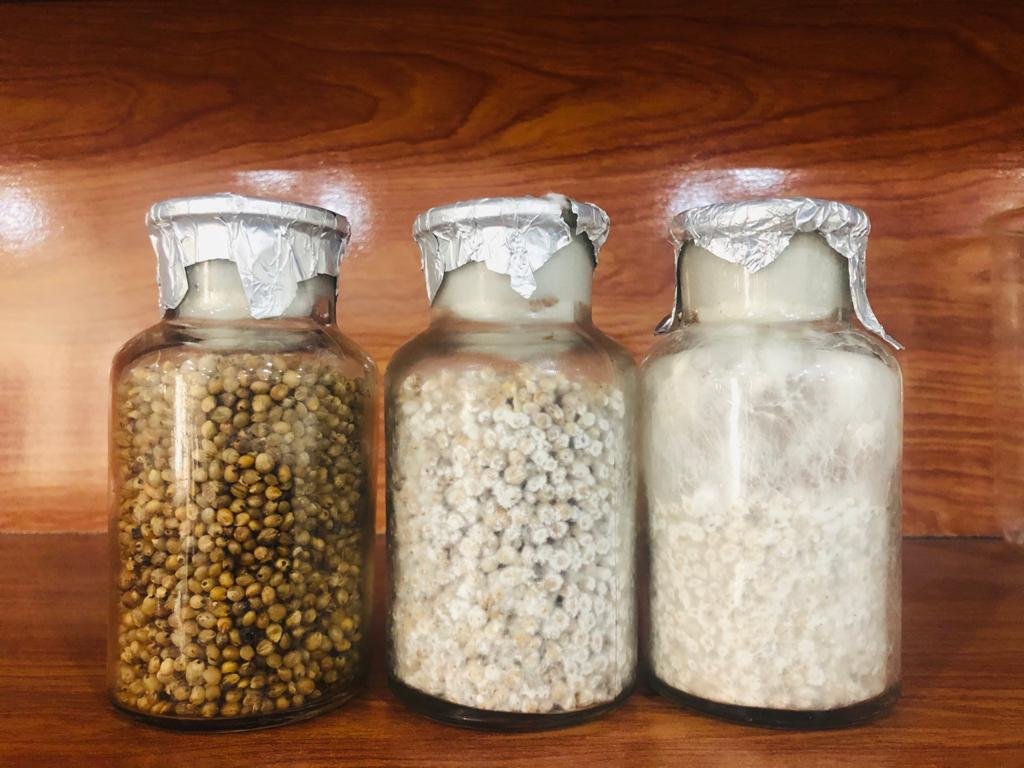
Growing Oyster Mushroom in Glass Jar
Another method for growing oyster mushrooms with cardboard is with a glass jar. This is a small-scale growing method best suited indoors and in small spaces.
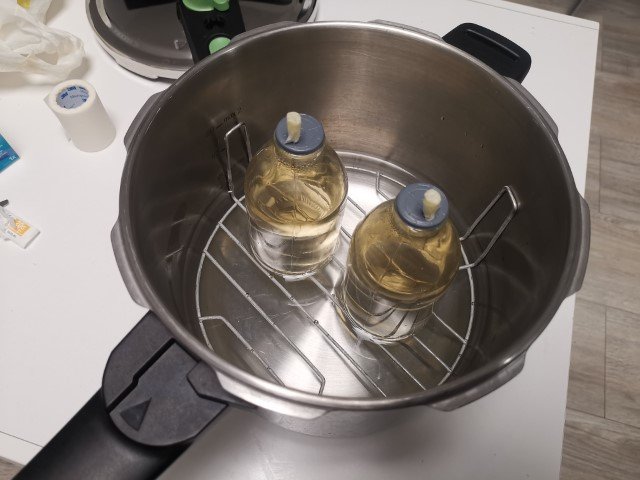
Get a glass jar with a screw-on lid such as a mason jar and drill a hole in the lid. Next, sterilize the jar by boiling it in water or by cleaning it with isopropyl alcohol.
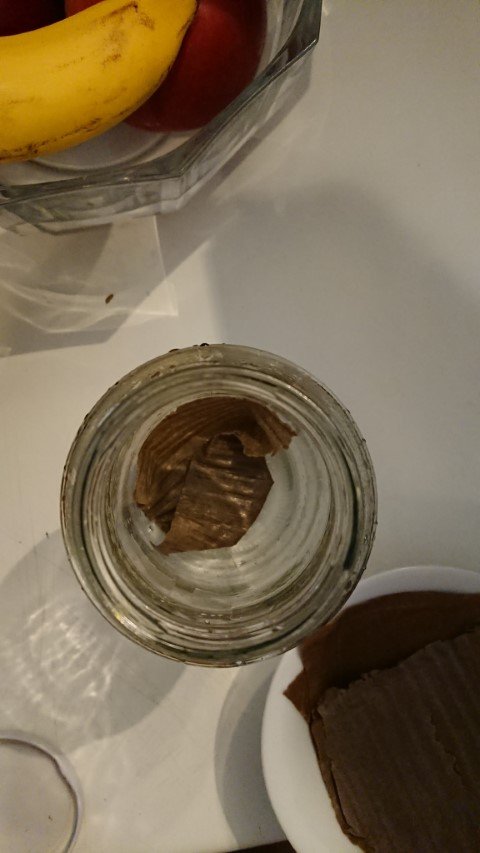
With the pasteurized shredded cardboard, layer the cardboard and spawn/or you can use pieces of Oyster Mushroom Fruit, lightly packing as you go.

In between layers of Cardboard put a couple of pieces of Oyster Mushroom fruit.
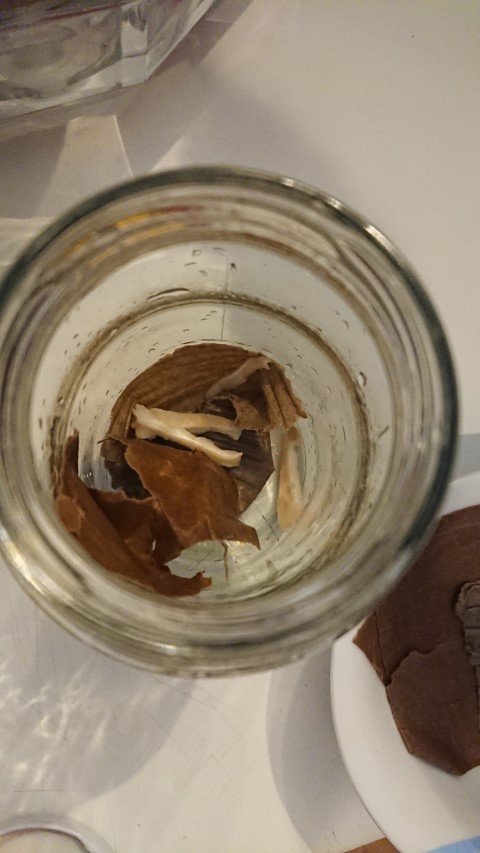
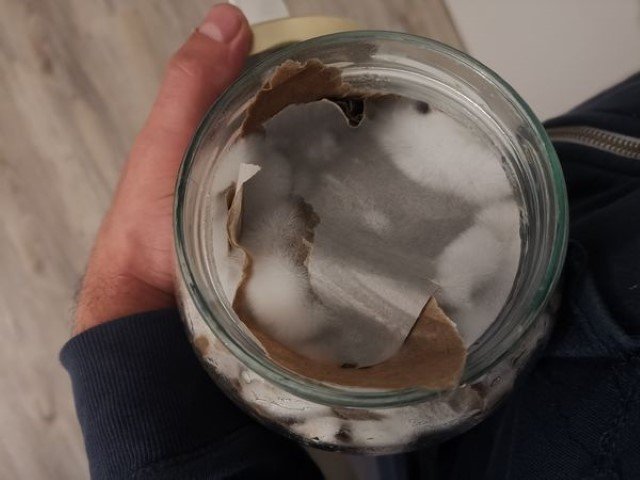
Once the jar is mostly full, place a sanitized cotton ball or cotton cloth in the hole of the lid and screw the lid on the jar.
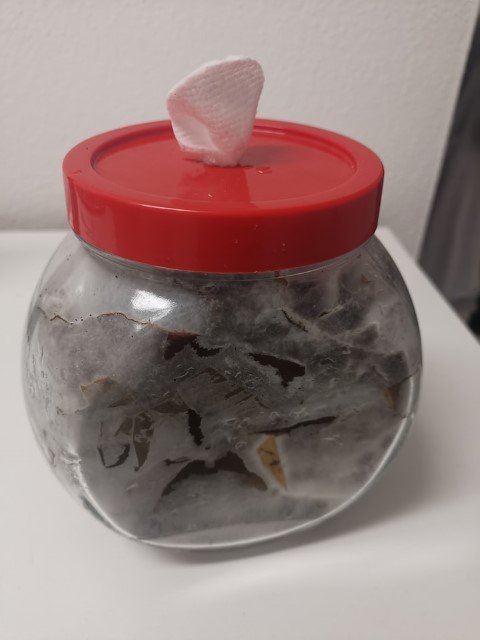
You’ll start to see the mycelium form in 3-4 weeks. Once the mushrooms start to fruit, remove the lid so the mushrooms can flush fully into harvestable caps.

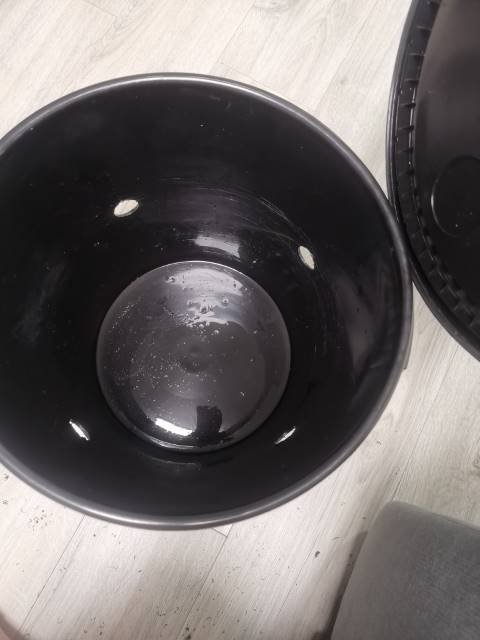
5 Gallon Bucket
Growing oyster mushrooms in a 5-gallon bucket is a popular method that has worked for many mushroom growers. Using a 5-gallon bucket is a simple method that will produce a healthy harvest of delicious oyster mushroom caps.
The first step to growing oyster mushrooms in a 5-gallon bucket is to find a bucket with a lid and drill holes in the side of the bucket. Using a ½-inch drill bit, drill holes throughout the side of the bucket a few inches apart from each other.
The holes are important because they allow airflow and a place for the mushrooms to grow through once they begin to fruit.
The next step is to sanitize the inside of the bucket and lid with isopropyl alcohol. Once sanitized, allow the bucket to dry so the alcohol can completely dissolve. Now that the bucket is dry and sanitized you can begin to add the spawn and cardboard.
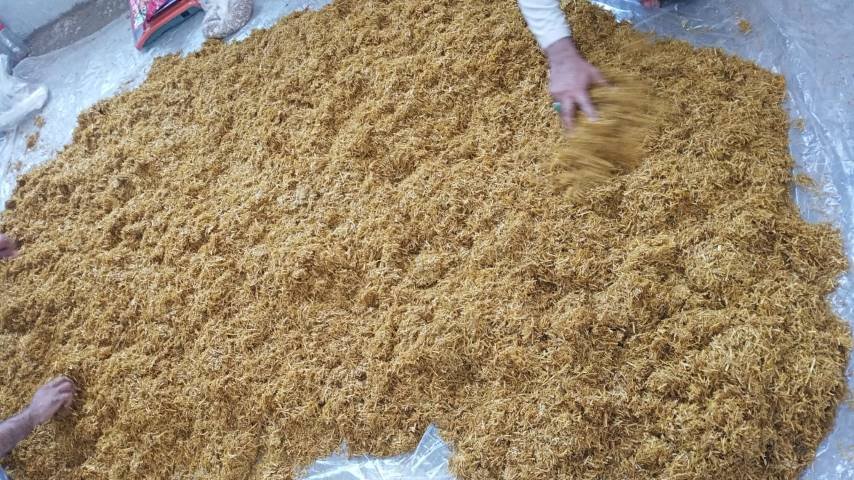
Finally, layer the pasteurized cardboard pieces and oyster mushroom grain spawn. Press down on the material and continue to layer the cardboard and spawn. After the bucket is about ¾ of the way full, cover with the lid and let sit in a shaded area outside, or inside at room temperature.
Read in detail how to grow oyster mushrooms in Bucket here.
In 4-6 weeks, you should have several colonies of harvestable oyster mushrooms that have emerged through the holes in the bucket.
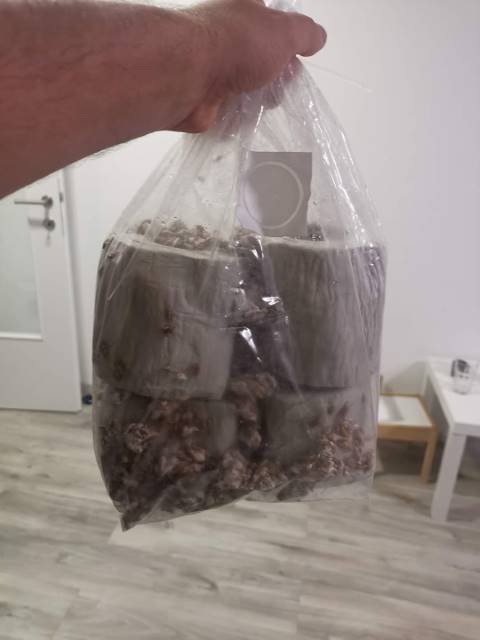
Plastic Bags
Another easy and small-scale method for growing oyster mushrooms with cardboard is plastic bags. For this process, gallon zip-lock-style plastic bags work the best.
Sterilize the inside of the plastic bag with isopropyl alcohol and allow it to dry out so the alcohol can completely dissolve.
Next, gather your spawn and pasteurized shredded cardboard that’s still moist from the boiling process. Thoroughly mix the spawn and cardboard in the plastic bag and close the zip lock, leaving about an inch open for airflow.
Finally, you may need to poke a couple of holes in the bottom of the bag and squeeze any excess moisture from the cardboard.
Leave for 3-6 weeks or until mushrooms are ready to harvest. Room temperatures in the 65–75-degree F range are best. You may need to spray inside the bag with water occasionally to ensure the substrate doesn’t dry out.
Growing Oyster Mushroom on Toilet Paper
I saw a video recently about Merlin Sheldrake, biologist, and researcher on Mushrooms, growing Oyster Mushrooms In the book he wrote about mushrooms. Here is a video of him eating those mushrooms.
One more fun way to grow oyster mushrooms is with whole rolls of toilet paper. This one I did as an experiment.
Start by submerging a roll of toilet paper in hot water for no longer than a second. Any longer will disintegrate the paper. Next, place the first roll in a plastic bag sanitized with isopropyl alcohol and place spawn on top of the toilet paper.

After the first roll of toilet paper is in the bag with some spawn, repeat the same steps with another roll of toilet paper.
Place some more spawn on top, then twist the top of the bag with some cotton cloth or paper towel at the top to allow for air.

In 3-6 weeks, you’ll have a few colonies of oyster mushrooms grown.
Conclusion
Using cardboard to grow oyster mushrooms is a great way to use waste that you’d otherwise throw away. With some simple preparation, cardboard is a worthwhile substrate for your next oyster mushroom growing project. Read about more substrate options here.
Cardboard isn’t some second-rate substrate material though either. You can have just as much success with cardboard as you can with other substrate types for little effort and almost no extra cost to you.
Whether you want to grow a bulk supply of oyster mushrooms in a large tote, or you just want to experiment on a small scale with glass jars, cardboard and other paper materials are the perfect growing substrate for oyster mushroom growers of any skill level.