In recent years oyster mushroom has become the most widely cultivated and consumed mushroom in the world. There are several reasons for the growing popularity of oyster mushrooms such as the ability of oyster mushrooms to grow on a variety of agricultural wastes, low investment, quick return, amazing health, and nutritional benefits. Mushroom cultivation can be started with minimal investment. However, it demands technical expertise to make the mushroom cultivation business a success.
Among the several steps involved in growing oyster mushrooms, the preparation of the substrate is the most critical step. A substrate is anything on which a mushroom mycelium grows and produces fruit. The substrate provides essential nutrients for the growth of mushrooms. Several types of substrates such as straw, cotton waste, logs, woodchips, sugarcane bagasse, sawdust, coffee grounds, and coco coir have been used for growing oyster mushrooms. These substrates are quite cheap and easily available. The quality of substrate used to grow mushrooms is highly variable and influences the performance in terms of spawn running and yield.
When mushroom cultivation has to be done on a large-scale substrate preparation is the most critical and expensive process that demands technical knowledge, expertise, and investment in infrastructure. According to a survey that was conducted in Sau Paulo, Brazil from 2009 to 2014 it was revealed that a lack of knowledge and technical expertise about the preparation of the substrate is the major challenge for the mushroom growers. Any mistake made during the preparation of substrate can turn the whole thing into a mess.
Which substrate is best for growing oyster mushrooms?
The selection of a perfect substrate is vital to obtain a good yield of mushrooms. I recommend using straw for growing oyster mushrooms. You can use wheat straw or rice straw. Straw is an agricultural waste that is easily available. You can turn this waste into a utilizable raw material for producing mushrooms.
A big plus of using straw substrate is that it can be used to grow several types of mushrooms. The mushroom mycelium can easily break down the fibers of straw through enzymatic action and releases the nutrients.
Steps for the preparation of straw substrate
Straw is one of the best substrates to grow oyster mushrooms. If you are growing mushrooms indoors, you need to prepare the substrate first. Straw is loaded with microbes it must be pasteurized first before using it for mushroom cultivation, otherwise these microbes will compete with mushroom mycelium, and it will fail to grow.
Let’s look at the substrate preparation process step by step.
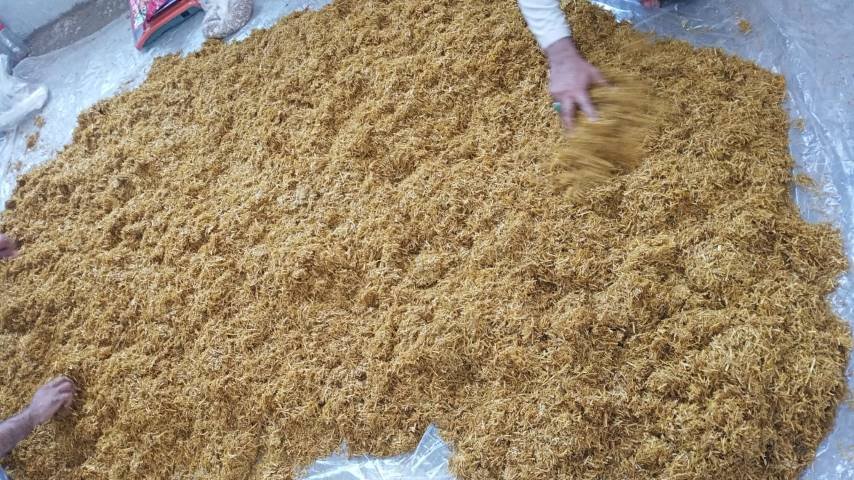
Step 1. Shredding
First, take the clean and uncontaminated straw. The straw must be chopped into 4 to 10 cm pieces. This step is particularly important if you have obtained fresh straw, it must be chopped before use. The smaller the straw pieces the more will be the colonization of mushroom mycelium. It will increase the chances of your success.
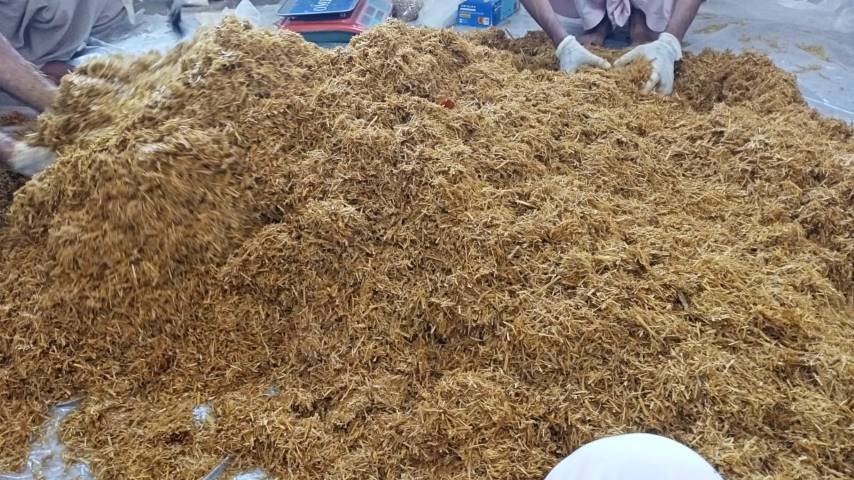
For a small amount of straw, you can use shears but if you are working with a large amount, you can use a weed whacker in a large barrel for the shredding of the substrate. Mix 95 % straw substrate with 5 % gypsum.
Gypsum helps to decrease the greasiness in the substrate. It also increases the flocculation of certain chemicals, and they adhere to the substrate rather than filling the pores between the pieces of straw.
Step 2. Substrate disinfection/sterilization
Substrate disinfection of sterilization is important to remove all the contaminants that can compete with the oyster mushroom mycelium and inhibit its colonization. This step is most important if you don’t sterilize the substrate properly you can not expect to get a crop.
The following methods can be used to remove contaminants or microbes from the straw substrate.
- Pasteurization by heating
- Lime bath treatment
a) Pasteurization by heating
Pasteurization does not sterilize the substrate completely but it will remove the unwanted contaminants (nematodes, bacteria, fungi, and other pests) and retain beneficial microbes (bacteria). It is an easier and faster process, but it uses more water.
For pasteurization, you need a large drum (200 Liter volume) with a meshed basket to hold the substrate. The drum should be placed on a burner and must be equipped with a pressure regulator. Fill the drum with water and heat the water well.
Place the substrate in the meshed basket and lower down the basket in the warm water. It is recommended to place a weight on the straw to avoid it from floating in the water. Leave the straw soaked in warm water for 1 hour and 30 minutes. Try to maintain the temperature between 65 to 82 degrees Celsius. You can use a thermometer to check the temperature.
After 1.5 hours, remove the basket and empty the water from the drum. Let the straw rest for a few hours until it cools down. Drain the straw properly. It should not have more than a few drops of water when squeezed. To check the level of water take a small amount of straw in your hand and squeeze it well. If more than a few drops of water come out of the substrate then drain it again.
Do not use the straw directly after picking from the drum when it is too hot. Mushroom mycelium is sensitive to high temperatures, When the substrate is too hot it will not let the spawn run or mushroom mycelium grow.
Note: Do not rush, make sure you give enough time for pasteurization. If the pasteurization process is incomplete your substrate will be contaminated leading to failure of the whole process.
b) Lime treatment
Take a large drum of 45-gallon capacity. Fill the drum with fresh water and add 4 cups of Calcium hydroxide Ca(OH)₂ (hydrated lime) or Calcium oxide CaO (quick lime) and stir it well to dissolve completely.
Put the straw in the nylon mesh bags and immerse in the lime-water solution for 2 to 3 hours. Then take the straw out and drain it well. Fill the substrate in bags immediately and inoculate with spawn. You can treat 20 kg straw substrate in one batch of lime water.
Step 3. Bagging and Spawning
After substrate disinfection, let it cool down on a clean concrete surface and cover with a polyethylene sheet. Once the substrate is cooled down, it is ready to be filled into the bags. Before you start working, wash your hand with soap and wear gloves to ensure complete hygiene conditions
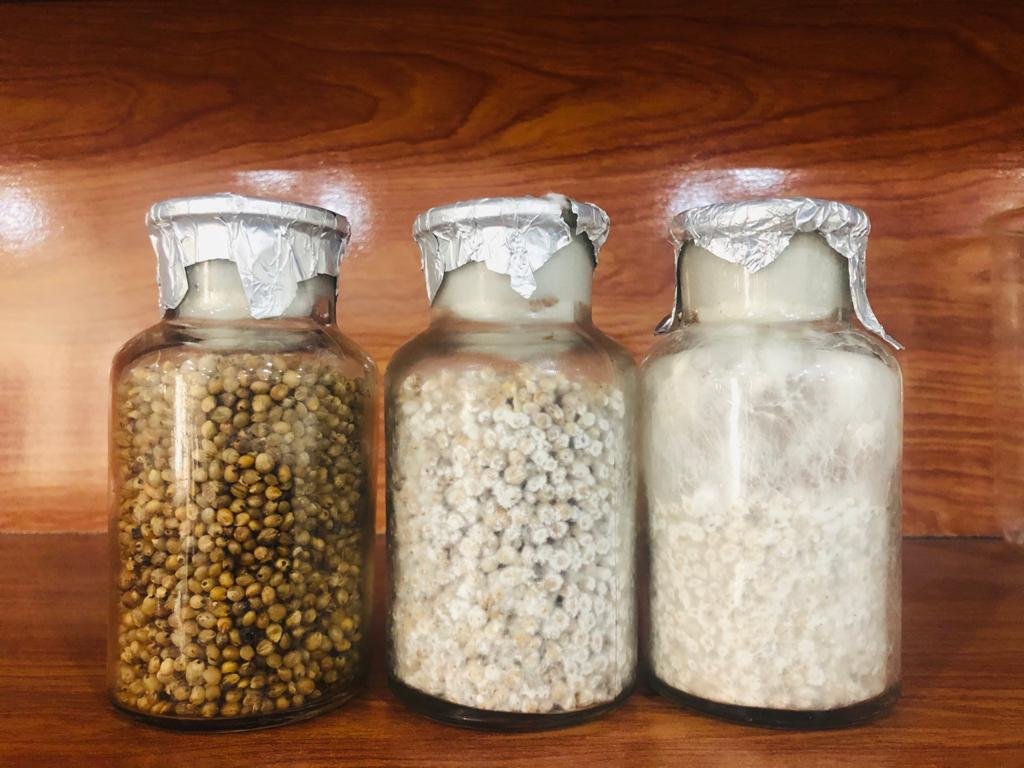
The substrate is inoculated with mushroom mycelium by using the spawn. Spawn is just like a seed that serves as a propagative unit for mushrooms. The spawn spreads the mushroom mycelium that colonizes the whole substrate.
Purchase fresh and high-quality spawn from a credible retailer or store. Take the spawn bag and cut open one corner of the spawn bag with a sterilized scissor. The best way to inoculate the substrate with spawn is by layering the spawn on the substrate. Add 50 g of spawn in a 1.5 kg substrate bag.
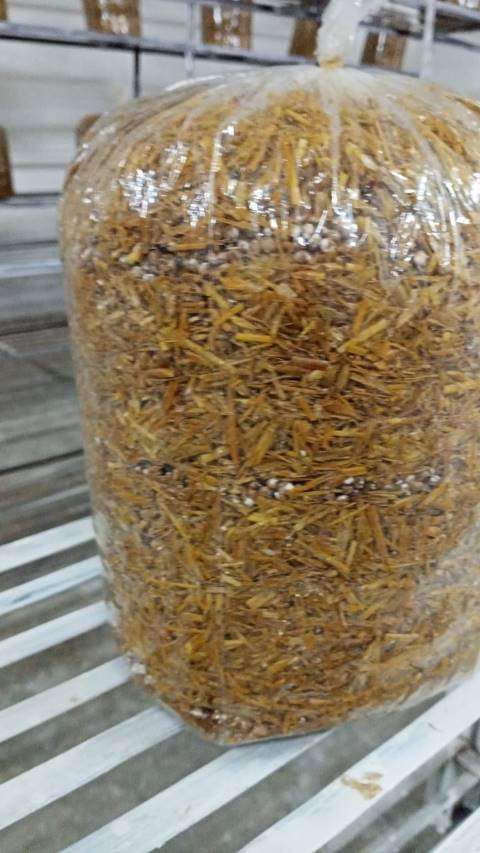
Add a layer of the substrate at the bottom of the bag then add a layer of spawn then again add a layer of the straw substrate. You can make 2 layers of spawn in a bag. Fill the bags until the bag is completely filled and can be tightly closed. Make some holes into the bags for air circulation.
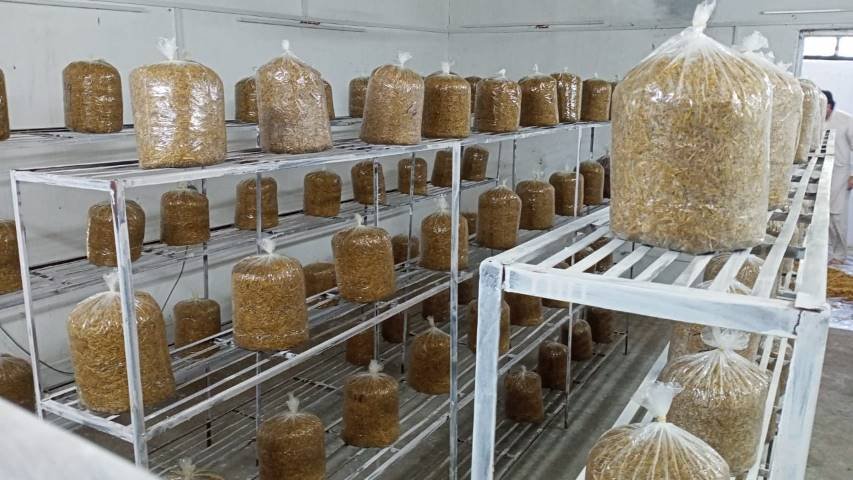
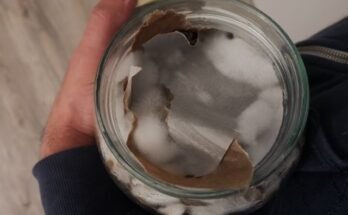
Place the bags in the complete dark for a couple of weeks to let the spawn run and colonize the substrate. Incubate the bags at the optimum temperature and humidity required for the growth of mushrooms. Maintain the levels of temperature and humidity in the incubation rooms.
Read about Oyster Mushroom Spawn Preparation Here.
Some useful tips for substrate preparation
- To get more yield of the mushrooms the substrate can be supplemented with additives such as rice or wheat bran 10-20 % w/w. The main substrate alone can not provide enough nutrition to support the growth of mushrooms. Therefore, if supplemented with rice or wheat bran it can provide more nutrition to support more yield of mushrooms.
- Do not rush. Give enough time to sterilize or pasteurize the substrate in order to minimize the risk of failure.
- If available, autoclaves or large pressure cookers can be used to sterilize the substrate. Autoclaves work at 121-degree Celsius temperature and 15 to 20 psi pressure for 30 minutes. Large pressure cookers can also be used. Autoclaves or pressure cookers ensure complete sterilization of the substrate. They reduce the chances of contamination to zero and increase your chances of success.
- The excess water in the substrates should be drained well. If the level of water is very high in the bags it will increase the risk of mold or bacterial growth.
- If you find any contaminated bags it is suggested to throw them far away from the incubation rooms. A single contaminated bag is enough to contaminate the other bags.
- Make sure the workplace where you are preparing the substrate is neat and clean. If the workplace is unhygienic, it can contaminate the substrate easily.
For more queries and problems about growing mushrooms feel free to write to us.