Growing oyster mushrooms in buckets are a perfect way for beginners to grow mushrooms successfully. You don’t need special skills, expertise, or special equipment to grow oyster mushrooms in buckets.
For a small-scale mushroom growing business, it is easy to grow oyster mushrooms in buckets. You can take a good amount of production from a small space. The advantage of using buckets is that you can use them repeatedly. Just clean the buckets after each harvest and re-use them for the next batch of oyster mushrooms. Whatever you chose to grow oyster mushrooms it doesn’t require a lot of effort or special skills.
In this article, you will find step by step guide for growing oyster mushrooms in buckets.
Growing oyster mushrooms in buckets
Materials required
To grow oyster mushrooms in buckets you need the following material:
- Oyster mushroom Grain Spawn
- Substrate
- Pressure cooker or autoclave
- 70 % Alcohol
- Hydrated Lime
- Buckets (15 to 20 L capacity)
- Drill
Process
1. Collect all the supplies
Bucket: You can purchase a new bucket or use an already available bucket. Make sure you have the information about all the chemicals that were stored in that bucket previously. If you are not sure, then it is recommended to use a new bucket.
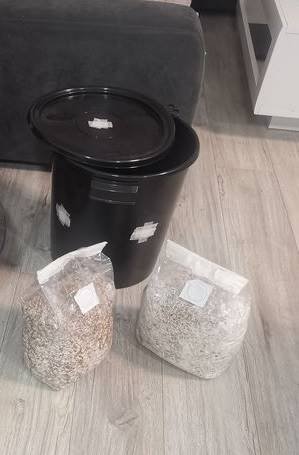
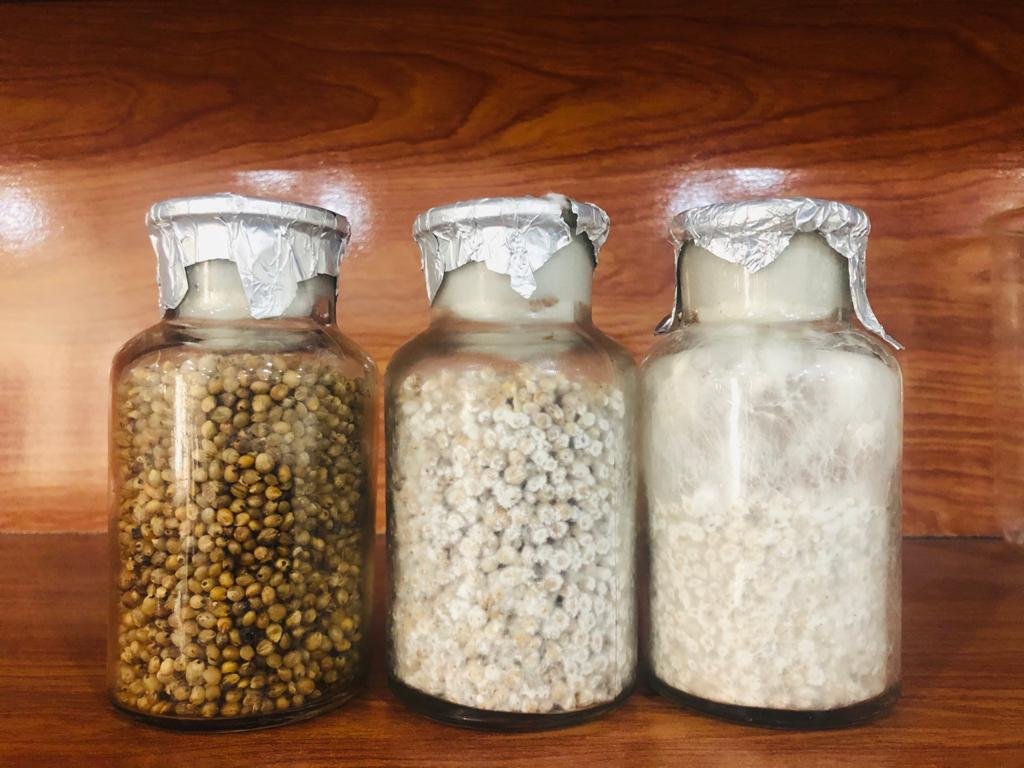
Spawn: You will need 5 to 10 % spawn depending upon the size of the bucket. Ten percent spawn colonizes the substrate in the bucket faster than the lower amount of spawn. But don’t worry even if you are using spawn less than 10 % you are still successful it will only reduce the time required for colonization of mushroom mycelium in the bucket. Grain spawns are best for growing oyster mushrooms because they give a higher yield. Purchase fresh spawn from a reliable seller. The spawn should not be too old or stored for a long time. You can make spawn yourself or You can buy oyster mushroom spawn from online sources such as Amazon and eBay
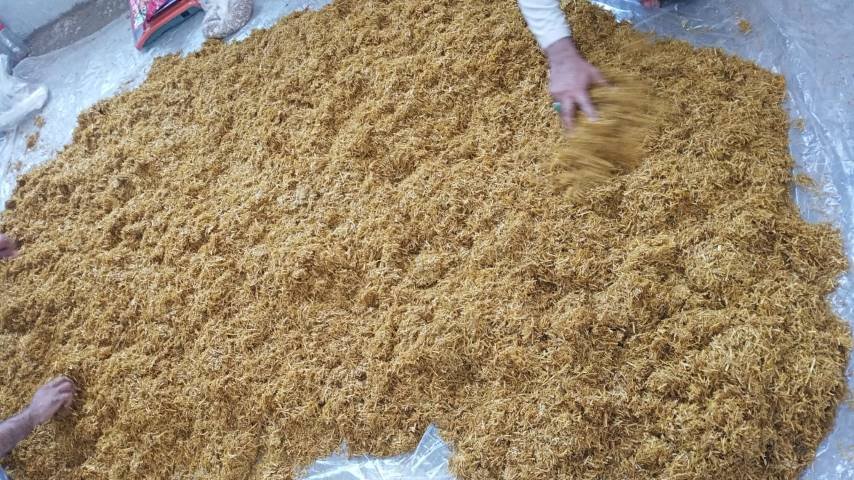
Substrate: It is recommended to use a substrate with a higher yield potential such as wheat straw because its particle size allows good air circulation. The straw must be chopped into small 2 inches pieces. The straw must be in enough quantity to fill the available buckets tightly.
Alcohol disinfectant: Make 70 % alcohol disinfectant on your own. Fill the disinfectant in a clean spray bottle and keep it away from the reach of children. Read here about preparing straw substrate.
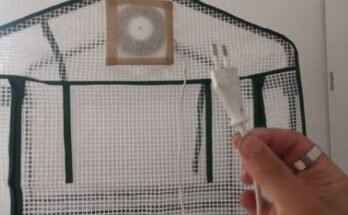
Drill: A drilling machine is required to make holes in the bucket to allow good air exchange.
Pasteurization equipment: For pasteurization, you need a container to hold water. The size of the container should be according to the amount of substrate. A netted bag to hold the substrate in water and hydrated lime (Calcium hydroxide) are required.
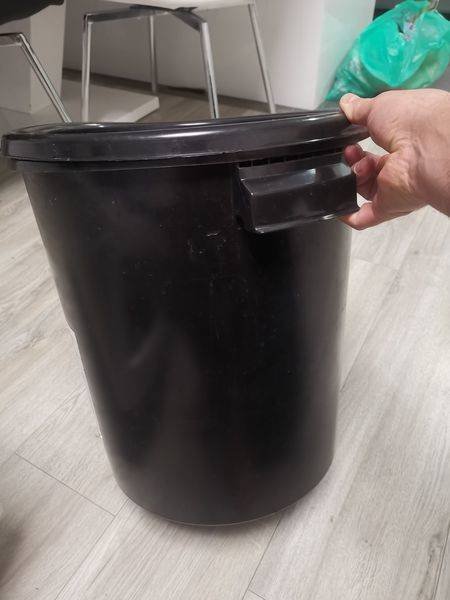
2. Get the buckets ready
Take clean buckets and make holes around the sides of your bucket using a drilling machine. There are not any hard and fast criteria for making holes however it is recommended to drill 10 to 15 mm holes at 4 to 6 inches distance from each other. The holes in the buckets are required for good air circulation and fruiting.

You can also make a few holes at the bottom of the bucket to allow the excess water to drain. Once you are finished drilling holes in the bucket use a razor or knife to remove any jagged bits. Wash the buckets and lid with a detergent before use.
3. Pasteurize the substrate
Pasteurize the substrate to remove the unwanted microbes that may compete with the mushroom mycelium and hinder its colonization in the substrate. The substrate naturally contains several microbes that must be killed to ensure completely aseptic conditions.
You can use any of the following methods to sterilize the substrate.
You can submerge the substrate in a large container containing hot water for 1 hour at 60 to 80 degrees Celsius.
You can try cold water lime bath pasteurization. It is an energy-intensive process. Soak the substrate in a hydrated lime-treated cold-water bath for 1 day. Lime increases the pH of water that kills all the microbes in the substrate.
You can also sterilize the substrate in a pressure cooker or autoclave. The autoclave or pressure cooker uses moist heat at high temperatures and pressure for sterilization. High temperature kills all the unwanted microbes in the substrate.
4. Filling the buckets with the substrate
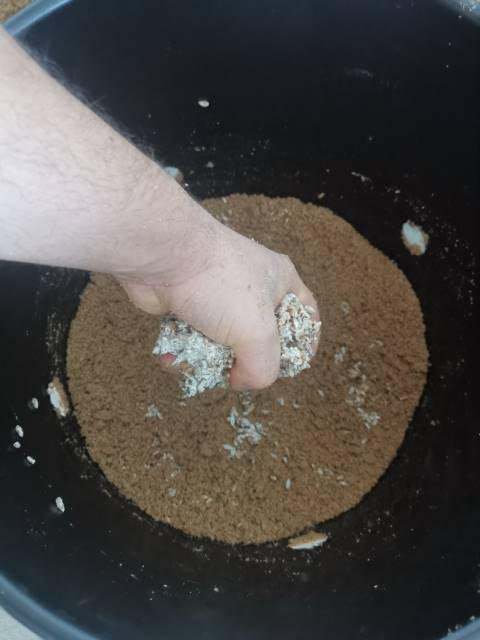
After pasteurization set aside the substrate at a dry place to drain properly. The substrate must not have dripping water it should be only moist to touch. Take a small amount of substrate in your hand and press it, if you see that it still has dripping water then leave it for some more time to drain well.
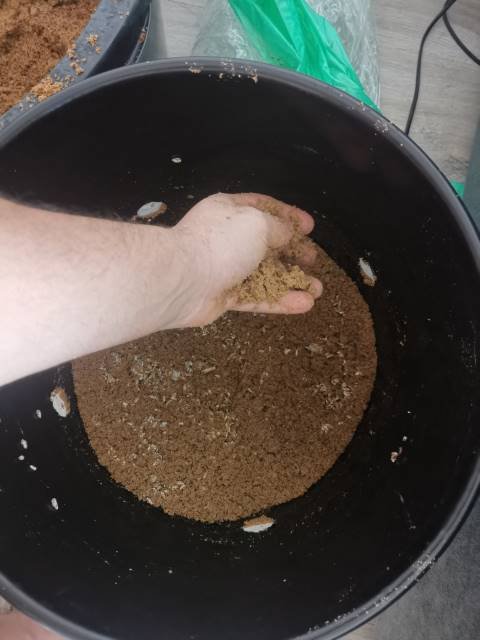
Before filling the substrate in the buckets wipe the surfaces of the buckets with 70 % alcohol. Cover the holes around the sides of the bucket with micropore tape. Fill the substrate in the buckets as soon as possible. Fill the buckets in layers first put a layer of the substrate and then a layer of spawn.
Keep making layers in the same manner until the bucket is full. Make sure the last layer is the layer of the substrate. Cover the bucket with the lid and label it with the date and oyster mushroom type.
5. Put the buckets in a warm dark place
To get a good harvest the oyster mushroom mycelium must colonize the substrate completely. Keep the buckets in a warm dark place. The ideal temperature of the location should be 16 to 25 degrees Celsius. At this temperature, the oyster mushroom mycelium takes 2 weeks to colonize the substrate completely.
After 4 to 5 days remove the lid of the bucket and check for the colonization of mushroom mycelium. You will observe patches of white cottony growth on the substrate. After 2 weeks the substrate will turn completely white. The oyster mushrooms will start fruiting and may even push off the tape and come out. Variation in temperature and humidity conditions affects the rate of colonization and the yield of oyster mushrooms.
6. Place the buckets in ideal growing conditions
To ensure good colonization of the substrate and better yield you must keep the buckets under ideal growing conditions.
Keep the buckets at a shady spot with indirect light. The temperature is the most important factor that affects the fruiting of oyster mushrooms. Maintain the temperature at 16 to 25 degrees Celsius. Oyster mushrooms need fresh air for their good growth. To allow the exchange of fresh air, remove the micropore tape. Oyster mushrooms need a high level of humidity more than 70 %. Keep the level of humidity high to prevent the baby oyster mushrooms from drying. If the humidity level goes too low the mushroom mycelium will dry out and fail to grow.
Harvest fresh oyster mushrooms timely
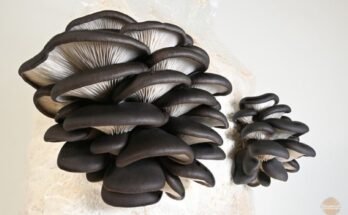
The mushroom fruit will come out of the holes in the bucket in a month and will be ready for harvest. The best time to harvest is when the mushroom caps start flattening and curl upward. At this stage, the oyster mushroom fruit is near to dropping its spores. The oyster mushrooms will also start drying out and dropping dusty spores indicating that it’s the right time to harvest.
You can cut the whole bunch of oyster mushrooms with a knife or simply twist the bunch with your hands. Make sure you cut the whole stem of oyster mushrooms. Once you have harvested the 1st crop, it’s not over wait, you can get 2 or 3 more crops from the same bucket.
Advantages of growing oyster mushrooms in buckets
There are some great benefits of growing oyster mushrooms in the buckets.
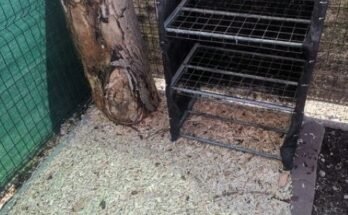
- Buckets are stackable and can take minimum space.
- Buckets are easily available. You can buy new buckets or use the already available buckets at your home.
- You can reuse the buckets to reduce the amount of plastic waste.
- Buckets are easy to handle.
- Buckets don’t need any extra support like polyethylene bags.
- Buckets are most suitable for small-scale mushroom growing business but you can also get commercial production from buckets.
Bottom Line
Growing oyster mushrooms in buckets is easily manageable than bags. It is also a great way to reduce the amount of plastic waste because the buckets can be reused. The beginners can easily manage to grow oyster mushrooms in buckets. It doesn’t require special skills, expertise, or equipment for growing oyster mushrooms in buckets.
It is a perfect way to set up a small-scale oyster mushroom growing business. You can take maximum yield from the minimum available space.