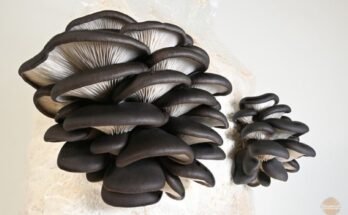
Oyster mushrooms are a delicious and accessible choice for mushroom growers of all skill levels. While oyster mushrooms can be successfully grown indoors, there are several ways to grow them outside with high rates of success.
Oyster mushrooms thrive when grown outside because they need plenty of fresh air and may grow unsuccessfully otherwise. As you’ll read in the methods below, outdoor growing is a great choice for all oyster mushroom varieties.
Outdoor Oyster Mushroom Growing Key Points
- Starting in the spring is the best time to get multiple flushes of harvestable mushrooms.
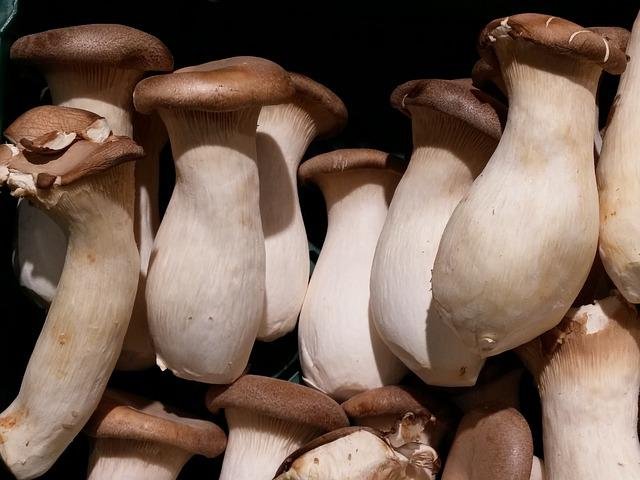
- Black varieties will be more cold-resistant than white oyster mushroom varieties.
- Insects will likely be an issue with outdoor growing. There is not much that can be done, so make sure to keep an eye on the mushrooms and harvest at the peak of freshness.
- The time to harvest maturity can be 4 weeks to as long as 9 months depending on the growing method.
- Maintain moisture throughout the growing period for any of the below methods and ensure you’re growing in a shaded area.
- When harvesting, cutting whole clusters instead of individual mushrooms with a sharp knife will be easiest.
- Eat harvested mushrooms as soon as possible. Oyster mushrooms will only keep fresh in a refrigerator for a few days.
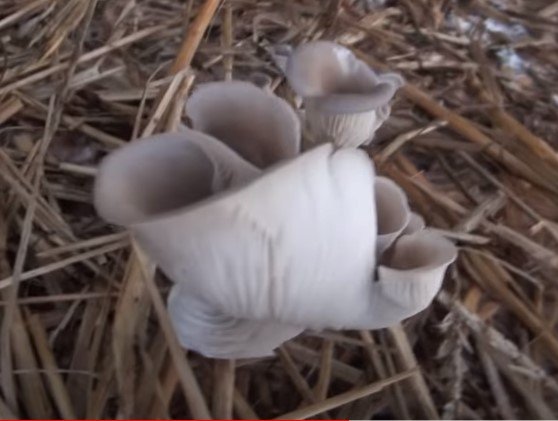
- The caps of oyster mushrooms are the most desirable. The stems can be tough and chewy.
Oyster Mushroom Outdoor Growing Methods
Straw Bed with Grain Spawn
One of the easiest ways to grow oyster mushrooms outside is with a simple straw bed as the substrate, layered with oyster mushroom grain spawn.
Start by gathering some straw and acquiring a bag of oyster mushrooms grain spawn. You can rinse your straw in hot water to sterilize, but most grain spawns are already resilient, so hot water is optional. Either way, you’ll still want to water down your straw so the spawn has plenty of moisture.
Next, find a shady and cool area. This could be a spot in your backyard or the side of a house or barn that doesn’t receive direct sunlight.
Once you’ve picked the spot for your straw bed, put down a layer of cardboard so weeds don’t easily grow through the straw. Next, place a layer of straw, then a layer of grain spawn, and repeat. Make sure to break up large chunks of spawn.
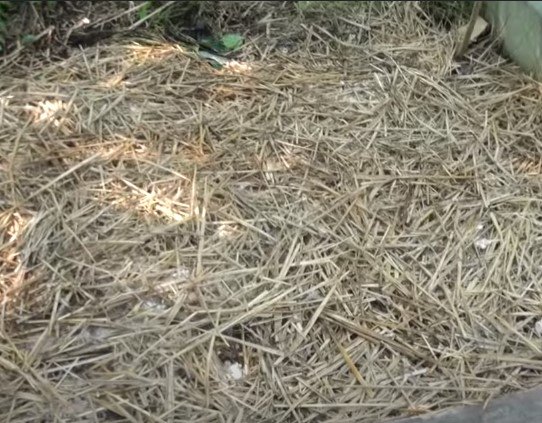
For the final layer, add one more layer of straw, wet it down generously with water, and cover it with a sheet of clear plastic tarp. Cut slits in the plastic to allow for some airflow. You’ll want to make sure your straw bed remains moist for the best results.
Once you’ve made your straw bed, the mycelium will start to work its way through the straw. Check the straw bed periodically and spray with water as necessary. Once the mycelium has started to work its way to the surface and against the plastic, remove the plastic and ensure the bed remains moist.
When the oyster mushrooms have reached maturity, you can begin to harvest the colonies, which will be anytime within 4-6 weeks.
Hanging “Straw Log” With Grain Spawn
Similar to planting a straw bed with grain spawn is to make a “straw log” layered with straw and grain spawn and hang it above the ground. This is a great method if you lack space for a straw bed, or if you just want to try something different.
Begin by layering moist straw and grain spawn in a tall clear plastic bag. Your straw log should be between 2-4 feet long, about 1 foot wide, and be a mixture of 90% straw and 10% grain spawn.
Next, tie off the top of the bag and cut slits in the plastic in an “X” shape. Hang above the ground in an area with plenty of shade.
Make sure your straw log remains moist and move closer to the ground and wet the ground beneath to increase humidity if necessary.
After about 4-6 weeks, the oyster mushrooms will have worked their way through the straw and holes and be ready to harvest.
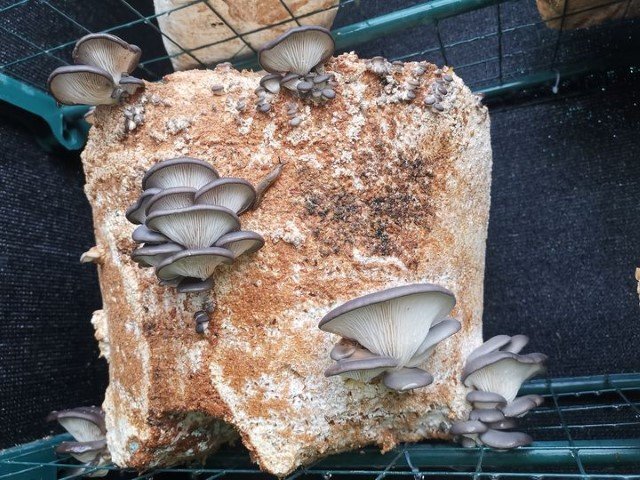
Outdoor Growing with Used Spawn Blocks
If you happen to have used spawn blocks from indoor oyster mushroom growing, using them for outdoor growing is a great way to get one or two more flushes out of them.
Find a forested area or a spot with plenty of shade and dig a hole about 6 inches deep and 2 feet long.
Place the used spawn blocks in the hole and press down firmly, packing as much of the spawn into the hole as you can.
Next, cover the spawn with a layer of dirt followed by leaf litter. Mark the location of where you planted on a map or with something simple such as placing a stick in the ground where you planted. Check the area every couple of weeks, you may find you need to add moisture to the substrate if rainfall has been limited.
After 4-6 weeks you should have one or more colonies of oyster mushrooms. Harvest when mature and if planted in the spring you may get lucky with two flushes of oyster mushrooms. This method is more hands-off and more closely resembles oyster mushrooms in nature, so results may be hard to predict, but it’s a fun way to utilize used spawn blocks.
“Log Totem” with Grain Spawn
Oyster mushrooms naturally grow on logs, so log growing for oyster mushroom varieties can be extremely effective. One log growing method for oyster mushrooms is what’s called a “log totem”.
Start by selecting your wood. Oyster mushrooms grow best on hardwoods, so select species such as oak, maple, and alder. Make sure you’re using fresh wood, recently cut wood. Old or rotting wood will have other fungi present that will compete with the oyster mushrooms.
If possible, cut logs in the winter when the tree is dormant and leave them in a shady area until spring arrives, and daytime temperatures remain above freezing.
Next, cut sections of logs. Cut two sections about 1 foot long and one section 2-4 inches long. The short section is called the “cookie”.
For the next step, get a large brown paper bag, such as the bags used to dispose of lawn trimmings, and cut several holes on the bottom for drainage.
Place a couple of handfuls of oyster mushroom grain spawn at the bottom of the bag about the diameter of the log. Next, place the first log on top of the spawn on the bottom of the bag. Add another layer of grain spawn on top of the log about 1/8th to 1/4th inches thick. Repeat the process with the next log and top with “cookie”.
Finally, add an ID tag with the species name and date of assembly if doing several at a time. Loosely cover the top and leave it in a shady spot for 4-6 months. Check the log periodically and spray with water to make sure the logs don’t dry out.
Once the mushrooms start to develop, remove the bag and allow the caps to mature for up to a week or sooner depending on their growth rate.
Hardwood Logs with Plug Spores
Another log growing method for oyster mushrooms is using plug spores in hardwood logs. This is a popular method for its ease of preparation and often results in many successful colonies.

For this method, you’ll need a hardwood log, plug spores (dowels that contain oyster mushroom mycelium), a drill, cheese wax, and a mallet.
To begin, find a fresh hardwood log approximately 3-4 feet long and 4-6 inches wide. Species such as oak, maple, and alder are best, and aspen will work as well.
After cutting the log to length, place it on a concrete surface for at least 2 weeks. This will allow the antifungal properties in the wood to dissipate, allowing for a better growing environment.
After the log has been sitting for a couple of weeks, it still needs to be moist. Fully submerge the log in a large bucket or bin of water for 1-2 days. Make sure the water you’re using is fresh and unchlorinated. If your water is chlorinated, simply leaving the bucket of water out in fresh air for a few days will allow the chlorine to evaporate.
The cheese wax will need to be melted for this method. Melt the wax with any method you can, but a double boiler setup works best. The wax will help retain moisture in the log and keep bugs from eating away at the mycelium.
Next, get your mushroom plug spores, cheese wax, and drill with a 5/16 drill bit, and a mallet.
Drill holes 1 inch deep in the log about 6 inches apart and stagger so you can get as many holes as possible in the log.
After you’ve hammered the plugs into the holes, cover them with the melted wax using a kitchen syringe or paintbrush. Using the melted wax, also cover the ends of the logs with a layer of wax to seal the moisture in the log.
It can take up to 9 months until mushrooms fully mature for harvesting. During that time, ensure the log stays moist, or the mushrooms won’t flush properly. Soak the log periodically by fully submerging it in fresh water for 8-12 hours every 2 weeks.
Conclusion
Oyster mushrooms are easy to grow and a delicious choice for any mushroom lover. Oyster mushrooms have become increasingly popular for their accessibility and low-maintenance growing needs.
Whether you’ve been growing mushrooms for years, or you’ve never tried to grow mushrooms, there’s no better choice than growing oyster mushrooms outside.